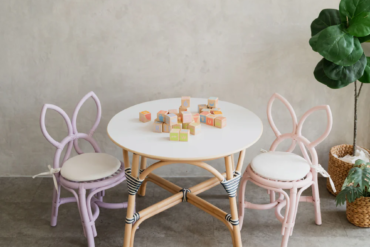
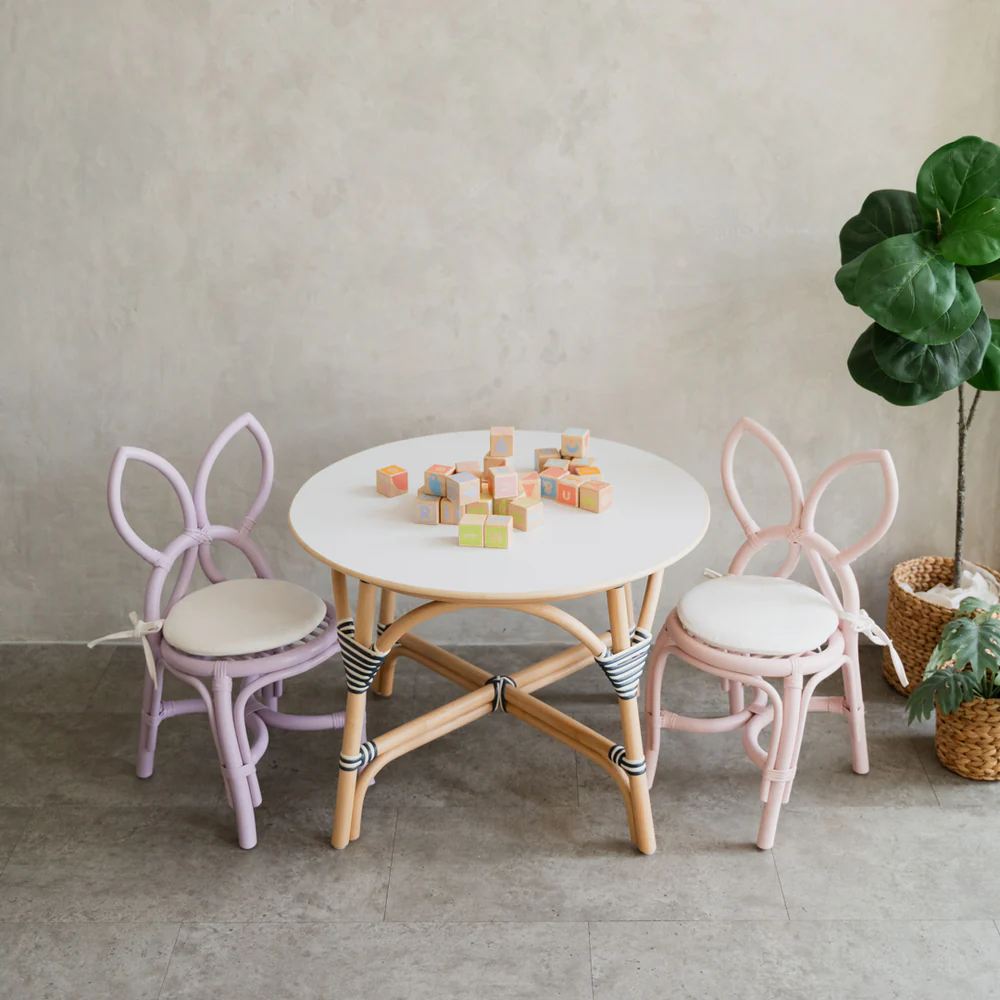
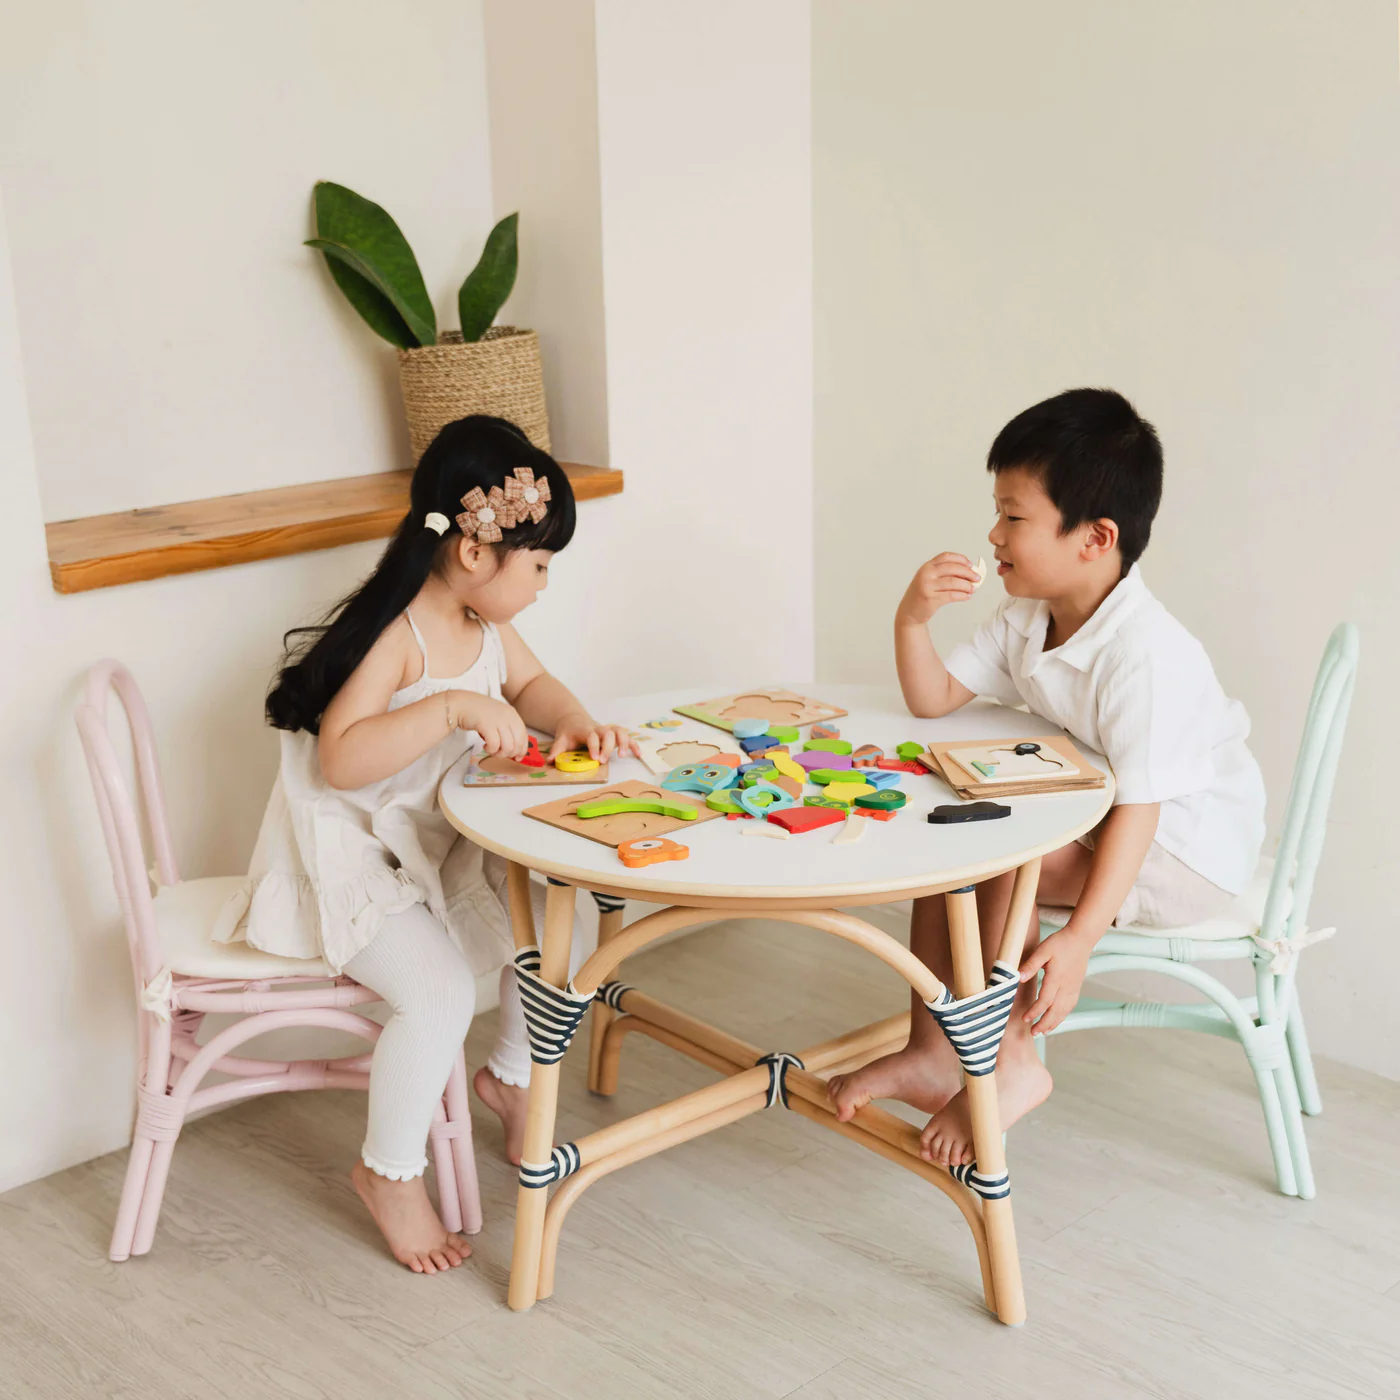
Rattan furniture is beloved for its breezy, natural charm—but what if that golden tan hue just doesn’t vibe with your space anymore? Whether you’re upcycling a vintage find or giving your patio set a refresh, staining rattan is a smart, sustainable way to transform its look without losing its texture.
Interior designer Bilal Rehman, the Gen-Z tastemaker behind Bilal Rehman Studio in Houston, puts it this way:
“The natural color of rattan tends to be a lighter tan-orange hue. When you stain it to blend more seamlessly into your space, what you’re left with is just the stunning texture—and that’s where rattan really shines.”
Staining rattan furniture doesn’t just change the color, it elevates the entire mood of a piece. Below, we’ll walk you through everything you need to know, from prep work to product selection, to make sure your DIY goes off without a drip.
Why Stain Rattan in the First Place?
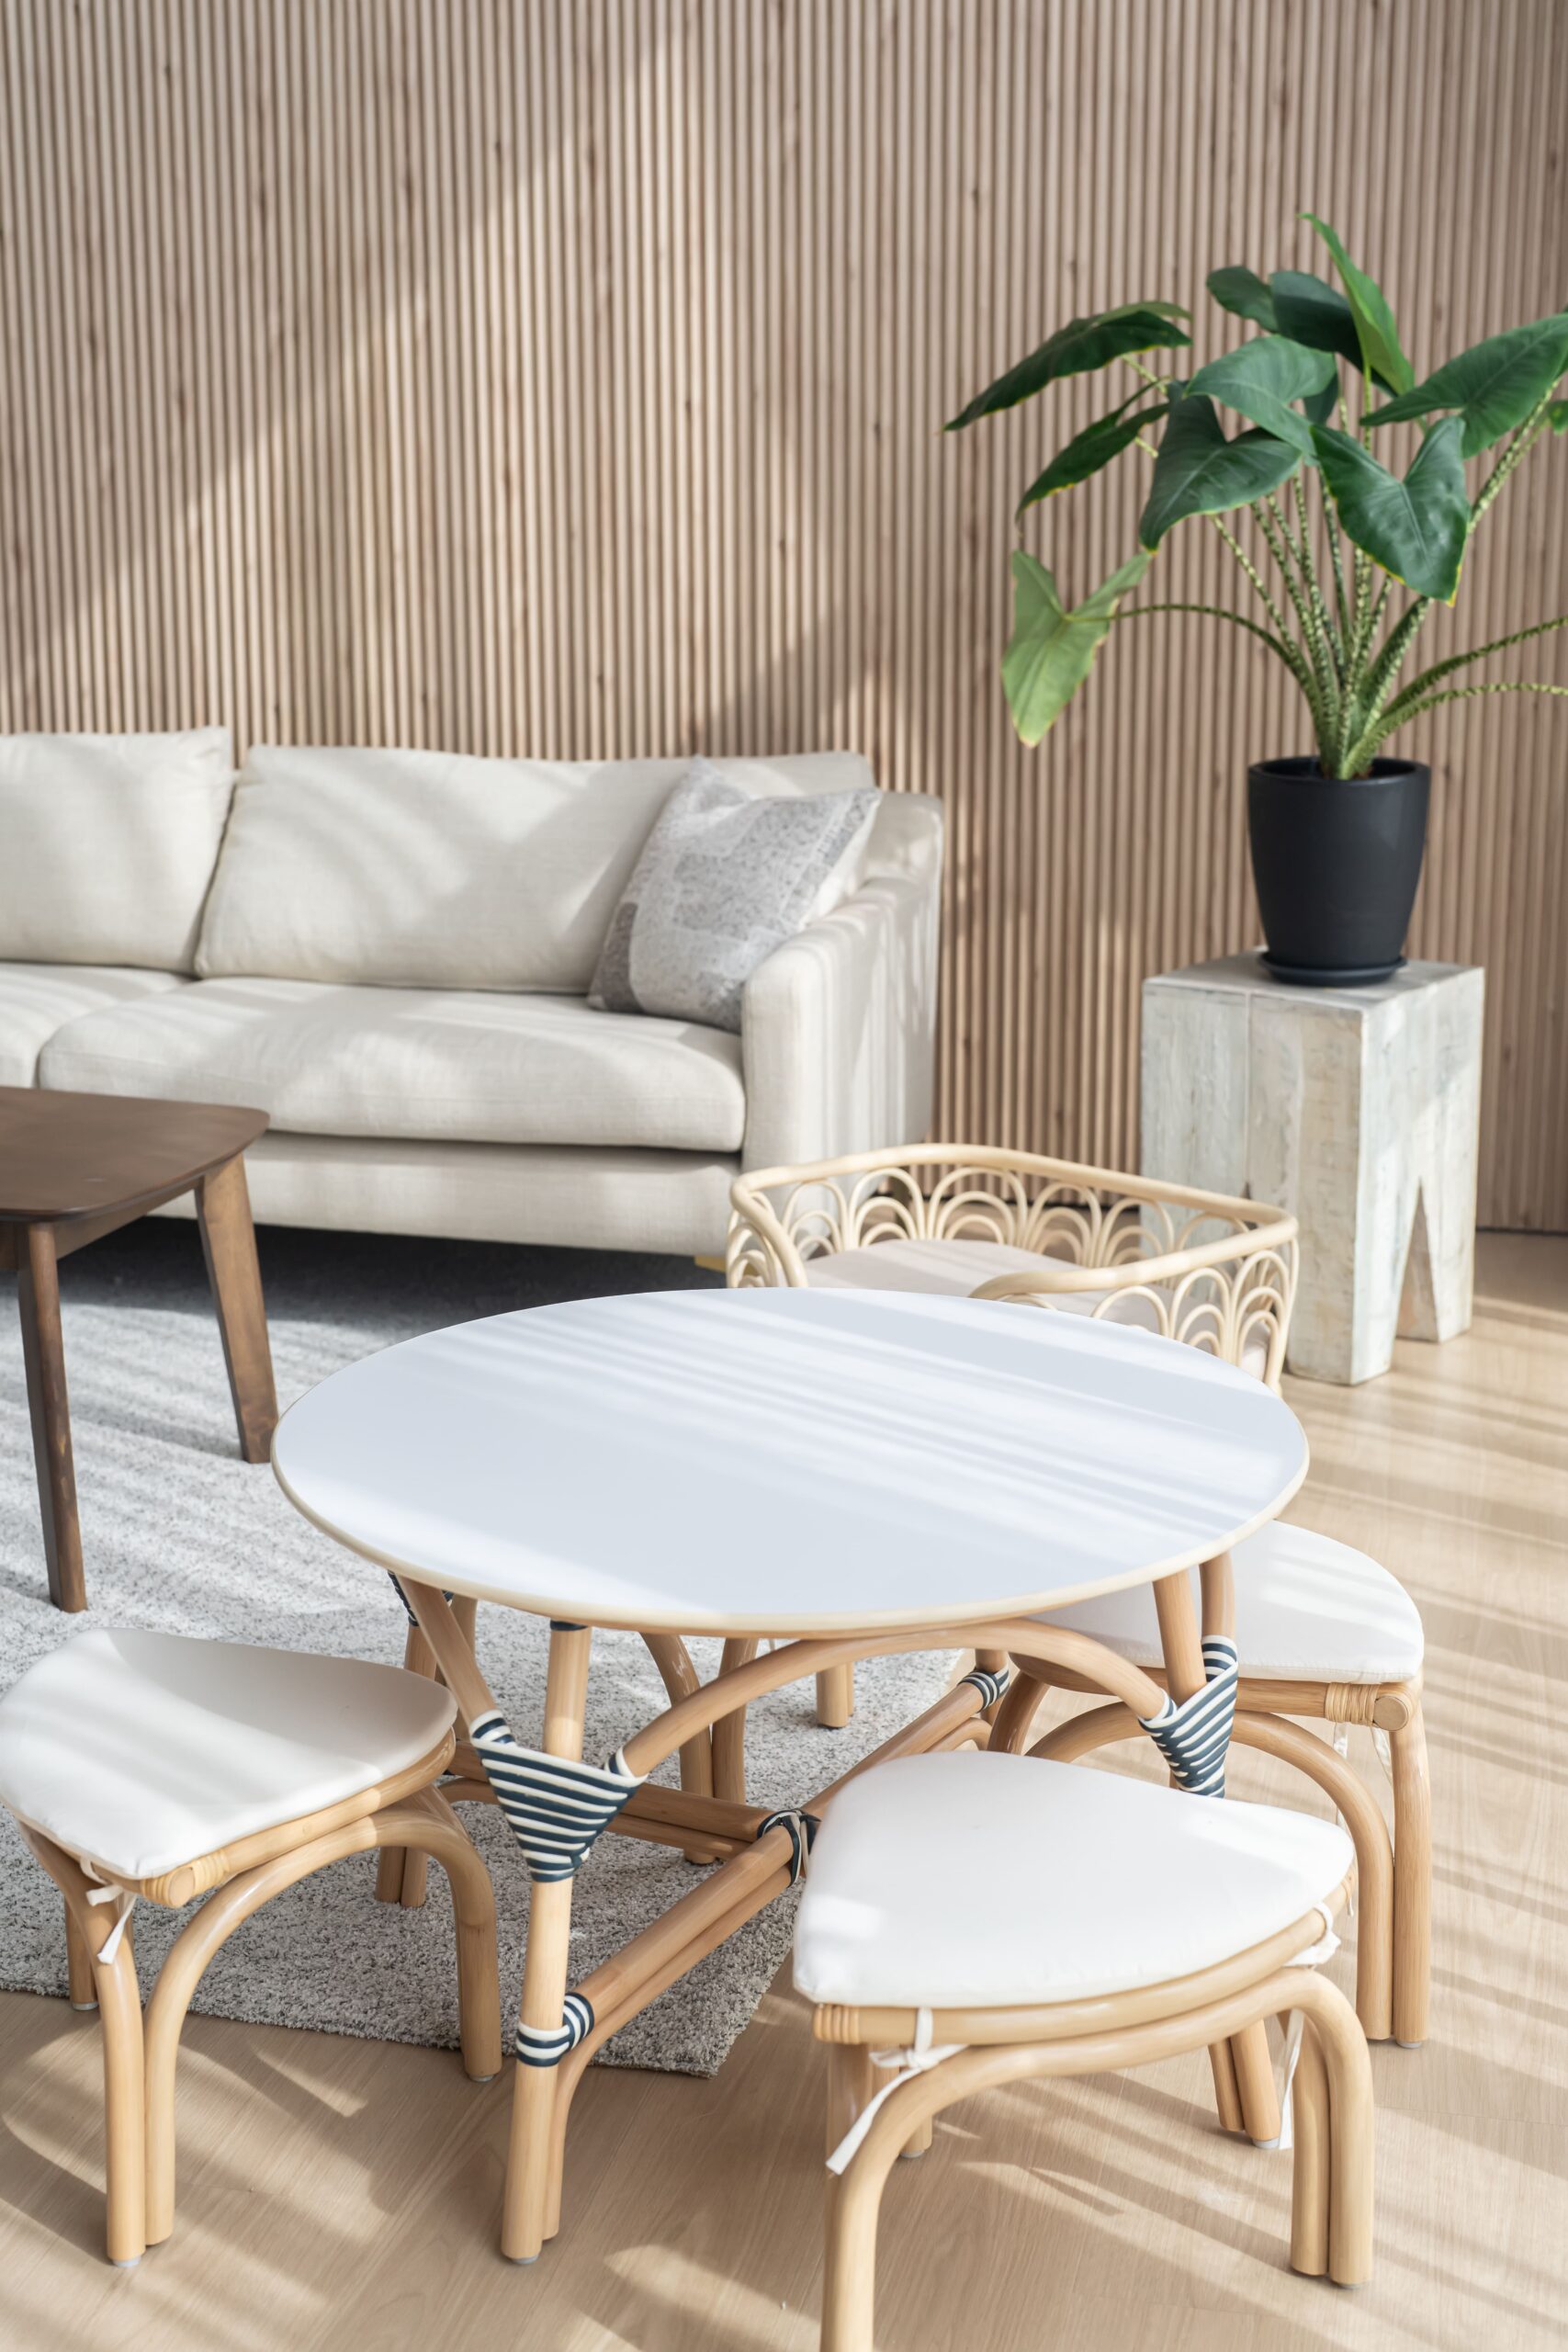
Rattan’s original color isn’t for everyone. Its warm, tropical tone may clash with cool-toned interiors or minimal palettes. But don’t toss that chair just yet—darkening rattan webbing or wicker can add depth, mood, and modernity. Plus, staining lets you:
- Match vintage pieces to newer ones
- Bring cohesion to a mixed furniture set
- Refresh faded or sun-bleached rattan
- Sustainably upcycle instead of replacing
Best of all? You don’t need to be a pro to pull it off.
Materials You’ll Need
- Wood stain (oil-based, water-based, or dye)
- Soft brush or lint-free cloth
- Mild detergent and water
- Fine-grit sandpaper
- Protective gloves and eyewear
- Clean rags or towels
- (Optional) Clear sealant, varnish, or wax
Step-by-Step: How to Stain Rattan Furniture
1. Inspect and Prep Your Rattan
Before anything touches your furniture, take a good look. Are there splits? Cracks? Loose weaves? Fix those first—stain won’t cover damage, it’ll highlight it.
If your piece has a glossy varnish or paint, lightly sand the surface. This creates “tooth” so the stain can stick. If it’s heavily sealed, you might consider stripping it or repainting instead.
Then, give it a thorough clean using mild soap and water. Use a soft toothbrush for tight corners. Let it dry completely, rattan holds moisture, and staining damp fibers can lead to blotching or mildew.
2. Choose the Right Stain for the Job
Stains aren’t one-size-fits-all. Rattan’s smooth, low-porosity surface can make absorption tricky, so choosing the right formula is key:
Oil-Based Stain
Oil-based stains are the traditional go-to for many DIYers and woodworkers, especially when long-term durability is key.
Pros:
- Deep penetration: Oil seeps into the rattan more than surface-level, giving a rich, dimensional tone that lasts longer.
- Smooth blending: Because it dries slowly, you get time to correct uneven patches, which is helpful on a woven surface like rattan.
- Long-lasting: Once cured, oil-based stains resist fading better than water-based ones, making them great for areas exposed to light or wear.
Cons:
- Long drying time: Expect to wait anywhere from 6 to 24 hours between coats. This can turn a one-day job into a weekend project.
- Strong fumes: You’ll need to work outdoors or in a well-ventilated area—oil-based stains release VOCs (volatile organic compounds) that aren’t great to inhale.
- Difficult cleanup: Brushes and hands need mineral spirits or turpentine to clean, which adds mess and cost.
Who it’s best for:
Someone who wants a rich, durable finish and doesn’t mind the extra wait and cleanup effort. Ideal for larger or outdoor rattan pieces like chairs or loungers that get regular use.
Water-Based Stain
Modern and more eco-conscious, water-based stains are easier to handle and perfect for indoor projects.
Pros:
- Fast drying: Great if you’re in a rush or doing multiple coats in a day.
- Low odor & low VOC: Safer to use indoors, especially if you live in an apartment or don’t have outdoor workspace.
- Easy cleanup: Soap and water are enough to wash your tools, hands, or accidental spills.
Cons:
- May not penetrate as deeply: The colour may appear more like a surface wash than a rich saturation, especially on older or slicker rattan.
- Can raise the grain: While less of an issue on rattan than wood, some fraying or rough texture can occur, making the surface feel slightly coarse unless sealed.
- Requires sealing: Water-based stains tend to be more vulnerable to wear, so a clear topcoat is often needed for protection.
Who it’s best for:
Those who want a quick, user-friendly option for indoor pieces, especially if staining in a small space or around pets/kids. Also a great pick if you’re newer to DIY and want fewer toxic fumes to deal with.
Dye (Wood or Fabric)
Often overlooked, dyes are the secret weapon of furniture restorers and set designers. They’re especially useful on low-porosity materials like rattan where traditional stains might struggle.
Pros:
- Vibrant and even colour: Dyes absorb more uniformly than stains on hard-to-penetrate surfaces like rattan, giving a sleek, even look.
- Customisable intensity: You can dilute or layer dyes to get everything from soft tints to deep, bold colours.
- Best for woven and detailed pieces: Because they’re thin and liquid-like, dyes get into tight crevices and complex weaves much more effectively than stains.
Cons:
- Requires spray application: Brushing dye can create streaks or puddles. A spray bottle or airbrush setup is usually needed.
- Messier setup: You’ll need more prep to avoid overspray and protect surrounding surfaces.
- Fades faster without protection: Dyes are more light-sensitive, so a sealant is almost always necessary.
Who it’s best for:
DIYers with a bit of experience who want maximum control over colour, great for intricate vintage rattan pieces, or when matching to a very specific decor tone. Also ideal when working on thin or delicate wicker where brush application might be too harsh.
Pro Tip: Always test your stain on an inconspicuous spot first. Rattan takes color differently depending on age, dryness, and weave tightness.
Fun Fact:
Historically, natural dyes were used on woven furniture in Southeast Asia using pigments from coffee, indigo, and even crushed charcoal. Today’s dyes are more sophisticated—but the vibe remains just as earthy.
3. Sand (Lightly!) Where Needed
If your rattan furniture feels rough or has remnants of old finish, give it a gentle sanding with fine-grit paper. Focus on worn areas, corners, or shiny patches. Then wipe it clean with a dry cloth.
Avoid heavy sanding, rattan is delicate, and overdoing it can weaken the weave or fray the fibers.
4. Apply the Stain (Without Making a Mess)
Set up in a well-ventilated, shaded area. Avoid staining under direct sunlight—it can dry the stain too fast, leading to patchiness.

Using a soft brush or cloth, apply a light coat of stain, following the curves and natural direction of the rattan weave. Don’t drench it—thin coats prevent pooling and dripping into crevices.
If you’re using a dye, pour the solution into a spray bottle and mist evenly. Rotate the piece to hit all sides. Dyes are especially great for complex patterns and open latticework.
Wipe any excess stain with a clean cloth before it settles.
5. Let it Dry—and Do a Second Coat if Needed
Drying time depends on the product, temperature, and humidity. Follow the instructions, but generally expect:
- Water-based stains: 1–2 hours
- Oil-based stains: 6–24 hours
- Dyes: Varies, often under an hour
Want a deeper tone? Apply a second coat only after the first one fully dries. If the color is blotchy, sanding lightly between coats can even things out.
6. Seal the Deal (Optional, But Smart)
Once your piece is fully dry and cured, consider finishing it with a clear sealant or varnish. This adds protection against scratches, sun exposure, and moisture—especially for outdoor furniture.
Choose a matte or satin finish if you want to keep the organic, natural look.
Tips for Picture-Perfect Results

Before you get started, there are a few practical tips to keep in mind for a smooth staining experience. First, make sure your rattan is completely dry—staining damp fibres can trap moisture, leading to warping or even mould over time. When applying stain, opt for a dense, small brush that can really get into those tight weave spaces, especially in curved or intricate sections. And don’t forget to wear gloves—stains are notoriously stubborn on skin and can be tough to scrub off. If you’re feeling creative, you can even experiment with a layered, weathered finish by lightly dry brushing a second colour over your base stain for added depth and texture.
Why Staining Is a Sustainable Choice
One of the most compelling reasons to stain rattan isn’t just aesthetic—it’s environmental.
Instead of tossing out old furniture because it feels outdated, you’re giving it a second life. That’s especially meaningful for vintage pieces, where the craftsmanship (often handwoven by artisans) is far superior to most modern mass-produced alternatives.
As Bilal Rehman notes,“Darkening rattan can instantly modernize a piece while keeping its handcrafted soul. It’s a smart and sustainable design move.”
Final Thoughts: Is Staining Rattan Worth It?
Absolutely. If you love rattan’s vibe but want it to better match your space—or if you’re just looking to breathe new life into a tired chair—staining is a low-cost, high-impact solution. It lets the material’s texture take centre stage, while giving you full creative control over the tone and finish.
So grab your gloves, pick your pigment, and get staining. Your furniture—and your future self—will thank you.
Rattan Staining FAQs
Can you paint rattan instead of staining it?
Yes—but painting covers the weave’s texture more than staining does. Stain enhances it; paint masks it.
What’s the best stain color for rattan?
It depends on your décor! Deep walnut or espresso gives a rich, moody look. Ash grey works well in Scandi-style spaces. Warm mid-tones like honey or chestnut preserve the natural aesthetic while adding depth.
How long will a stained rattan piece last?
With proper sealing and care (like avoiding direct sun and re-waxing annually), a stained rattan piece can look beautiful for decades.